As a multi-location business, managing social media can be difficult and time-consuming. Luckily, Facebook makes it easy for you to manage multiple location pages, adding a map to your main Facebook page and providing a “Locations tab.”
This post will break down how to add multiple locations to your Facebook page as well as if this is the right step for your business.
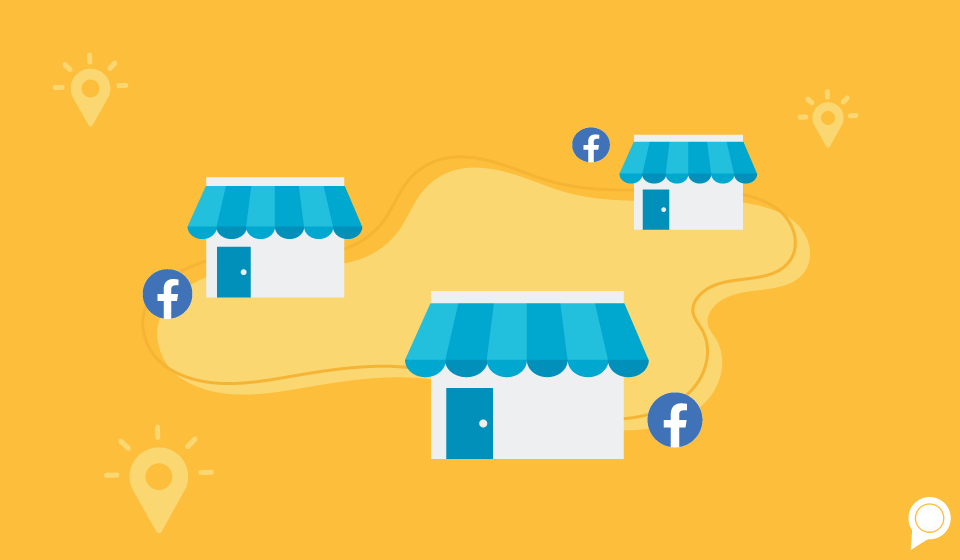
If you have a multi-location business and you want all your locations to show up on a map on your business’s main Facebook page, then adding locations might be right for you.
Here are a few reasons you might want to have locations highlighted on your Facebook Page:
While Facebook lists many benefits of adding locations to your main Facebook Page, this may not be for everyone. First off, you will have to manage content for each location (or post the same thing to every location). Secondly, you could lose your business’s reviews.
To learn more about Facebook reviews, click here.
You can do this from your Facebook Page as well, and it’s a similar process. You will need to have locations set up first, though. Once you start adding locations, Facebook will prompt you to remove your address and remove or move your business’s reviews.
So, should you really have multiple locations on your Facebook page?
That’s up to you. While it can be beneficial, especially if you have the time to create content for each of your locations, it can also be time-consuming. Plus, you could lose your business’s current Facebook reviews.
Starting from scratch is no fun, but if you’re confident that you can easily build those reviews back up or if you don’t have many Facebook reviews, then this could be the right step for you.
If your page is well established, though, with lots of positive reviews, hiding or migrating those reviews to location pages could be a full-time job.
Still, if you want to track store visits or you feel adding locations to your Page is right for you, follow the above steps and you should have those locations ready in no time!
For more Facebook tips, check out:

Isabella Andersen, Content Contributor
Subscribe to our email list to get the latest digital marketing content delivered to your inbox each week!